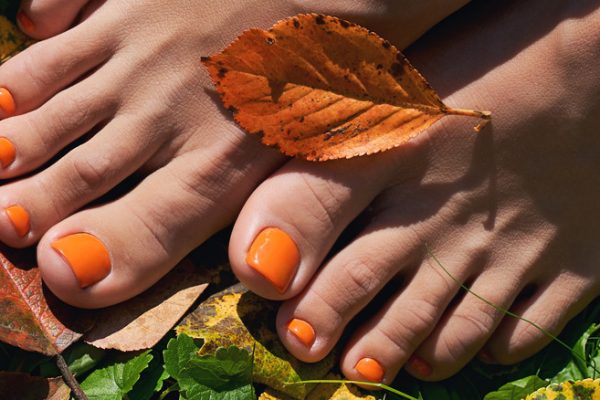
Excessive sweating, hyperhidrosis, bacteria, unsuitable footwear, stress, fungal infections, and poor foot hygiene are all factors that can explain unpleasant foot odor. Discover our natural remedies for smelly feet.
Smelly Feet: Possible Causes
Feet can become sweaty in hot weather, especially if we wear closed-toe shoes or boots and the sweat doesn’t evaporate. Anxiety and emotional stress also increase sweat gland activity due to the release of stress hormones such as adrenaline, causing sweaty hands and feet. Here is a list of the main reasons that can explain smelly feet:
1. Excessive sweating: Excessive sweating, especially in hot conditions, creates an environment conducive to bacterial growth, leading to bad odor.
2. Hyperhidrosis: A condition characterized by excessive sweating that exceeds normal thermal regulation needs, contributing to smelly feet.
3. Bacteria: Bacteria on the skin feed on sweat, producing malodorous substances.
4. Improper footwear: Closed-toe shoes or shoes made from synthetic materials can promote moisture retention, creating an environment conducive to unpleasant odors.
5. Stress and anxiety: Increased sweat gland activity due to stress hormones, such as adrenaline, can lead to sweaty, smelly feet.
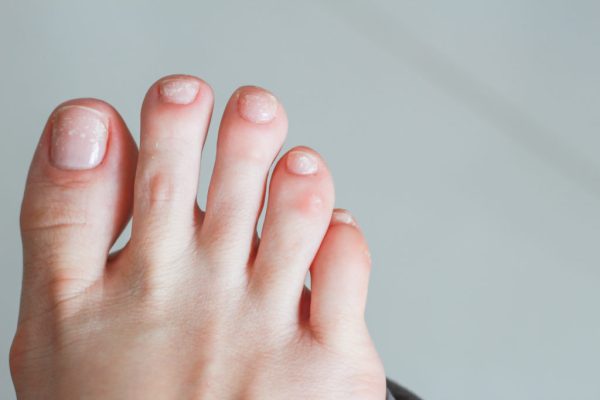
6. Fungal infections: Fungi can thrive in humid environments, causing fungal infections that contribute to foot odor.
7. Poor foot hygiene: Inadequate foot cleaning can allow the buildup of odor-causing bacteria.
Bad Foot Odor: Everything You Need to Know About Excessive Sweating
It’s natural to sweat, and it’s quite common for sweat to have a slight odor due to the bacteria that feed on it. However, when sweating becomes excessive or the odor becomes too strong and bothersome, it can sometimes indicate an underlying problem. Hyperhidrosis (HH) is characterized by excessive sweat production beyond what is necessary for thermal regulation. There are two types of hyperhidrosis: generalized and focal. Generalized hyperhidrosis can be idiopathic or related to underlying medical conditions, while focal hyperhidrosis is primarily idiopathic in origin.
Focal hyperhidrosis occurs most commonly in the armpits (40%), hands and feet (40%), and, less commonly, in the craniofacial region (10%) and groin. This condition can cause significant social, occupational, and psychological impairment. Most affected individuals keep their suffering to themselves, avoiding seeking medical help due to the embarrassment they feel. They prefer to hide their discomfort, even from those close to them, considering the condition a source of shame. Individuals with plantar hyperhidrosis, in particular, are forced to change their socks frequently throughout the day, while their shoes wear out at an accelerated rate.
A closer look at the bacteria that can cause foot odor
Humans harbor approximately 1,000 species of bacteria on their skin. These bacteria thrive in moist areas such as the armpits, groin, and between the toes. While most skin bacteria are harmless (and some are even beneficial), they can also cause unpleasant odors when they interact with perspiration.
Foot odor is associated with several types of bacteria. When these bacteria consume the sugars and fats in perspiration, they produce chemicals that give off a foul odor. The most common chemical compounds include isovaleric acid, which has a distinctive odor of cheesy feet, and propionic acid, which has a sour odor.
How to eliminate foot odor naturally?
Here are some natural tips for getting rid of foot odor:
1. Vinegar foot soak: Add half a cup of white vinegar to a basin of warm water and mix well. Soak your feet in this solution for about 25 minutes. Then, dry them with a towel.
2. Baking soda: For unpleasant foot odor, sprinkle baking soda inside your shoes, between the sole and the sock. Prepare a solution of baking soda in water, apply it to your wet feet, then dry them with a hairdryer without using a towel to avoid removing the mixture.
3. Wear the right footwear: Foot odor is accentuated by socks and shoes that don’t allow perspiration to evaporate from the skin. When perspiration can’t evaporate from the skin, the temperature and relative humidity inside shoes increase, especially in footwear such as work boots. Bacteria prefer a warm, humid environment. It’s ideal to alternate your footwear to allow shoes and boots to dry before wearing them again. Damp shoes are the perfect environment for bacteria to thrive and produce these smelly chemicals.
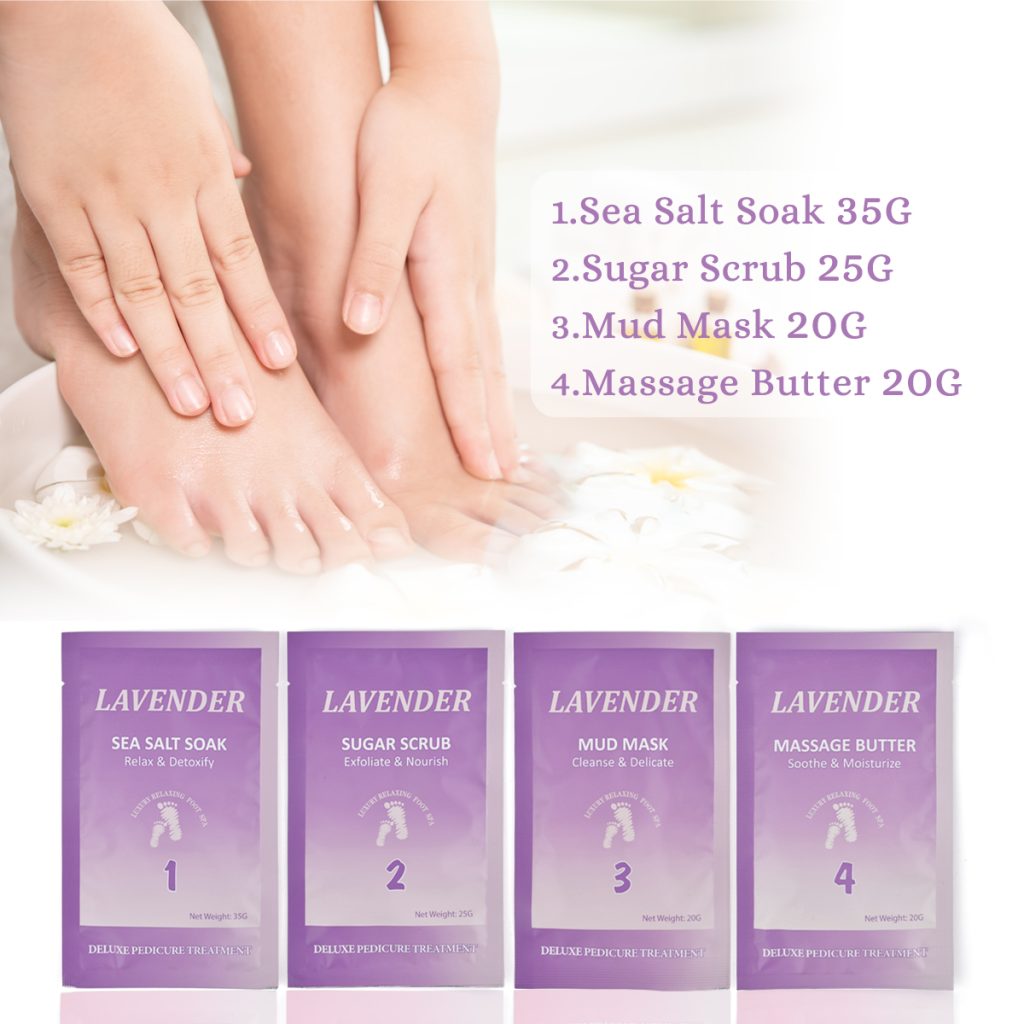
4. Good foot hygiene: Feet don’t wash themselves in the shower. In fact, bacteria from the rest of your body are washed down to your feet. Therefore, it’s important to wash your feet with pedicure kit. Drying your feet thoroughly after bathing is also important to prevent the buildup of perspiration and bacteria.
5. Use 100% cotton socks: Cotton socks are often recommended to prevent foot odor due to their absorbent and breathable properties.
6. Coltsfoot Foot Soak: Prepare a coltsfoot foot soak by placing a handful of the plant in a liter of cold water and bringing to a boil. Boil for ten minutes, then turn off the heat, cover, and let steep for ten minutes. Strain the mixture, pour it into a basin, add hot water, and enjoy a fifteen-minute foot soak. Repeat this procedure several times a week.
Read also: Your Secret Weapon for Effortless Nails: Mastering Mini Sanding Bands